Post by ncko74 on May 2, 2010 19:45:32 GMT
Right guys,
I while ago I was looking for a replacement rear wheel axle for a mini burner, with out any success.(Altough this guide was for a raleigh burner it can be applied to all bikes with spoked wheels
)
So i thought I'd make one : :
:
The one I had was pretty knackered as all the threads had stripped and wouldnt tighten up.
I've done a little guide that may help others as this could be used on the larger axles (M10) etc. just change the bolt to M10 and you need a M10 x 1 die nut. I will add that the Die nuts are quite expensive to buy, but if you can borrow one from a mate or from a local engineering firm great.
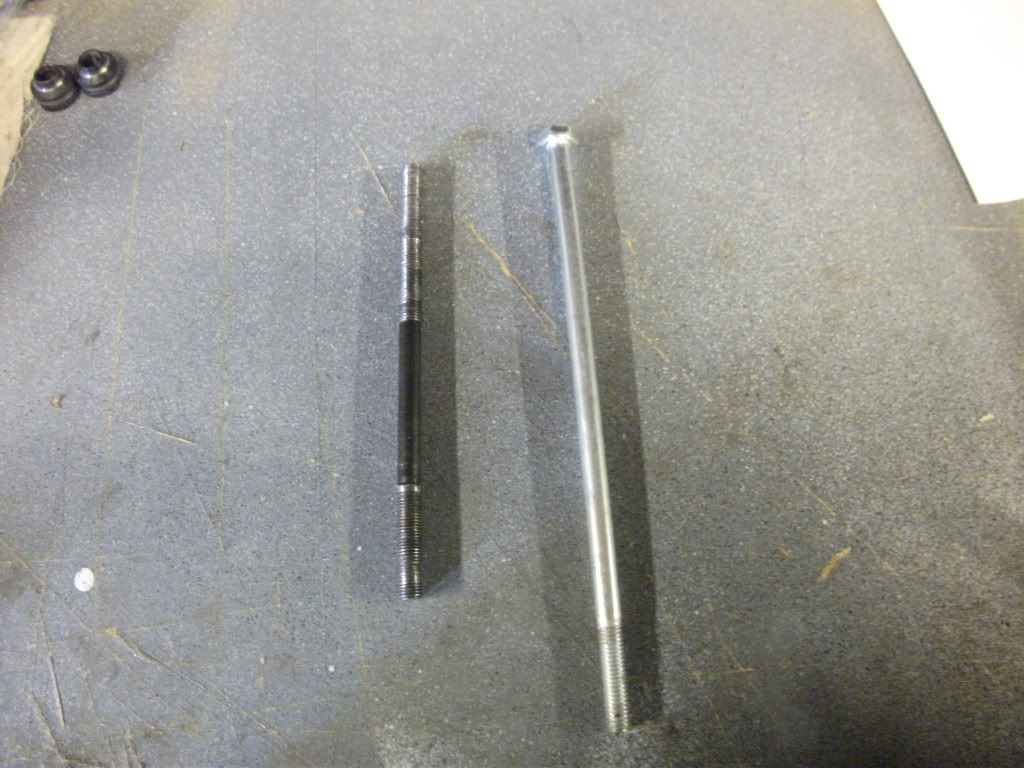
Firstly the axles for this Mk1 mini are 8mm with a metric fine thread(M8 x 1). Axles for the standard burner wheels are M10 metric fine (M10 x 1).
No.1
Buy a bolt that is long enough for the axle your making
No.2
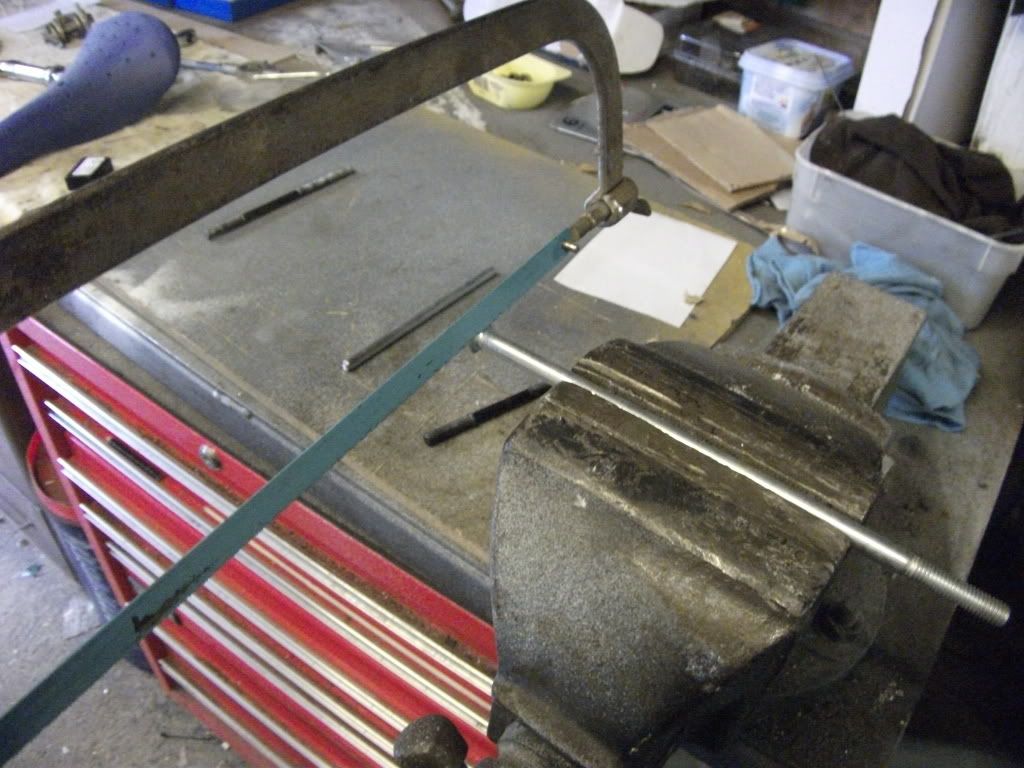
Cut the hex head off and cut the bolt to length. I used a hack saw and a vice to hold the bolt. Metric fine bolts are not as readily available as standard metric bolts so I had to cut the existing thread off as well. If you can get a metric fine bolt you only need to thread one end, but metric fine bolts are more expensive as well
No.3
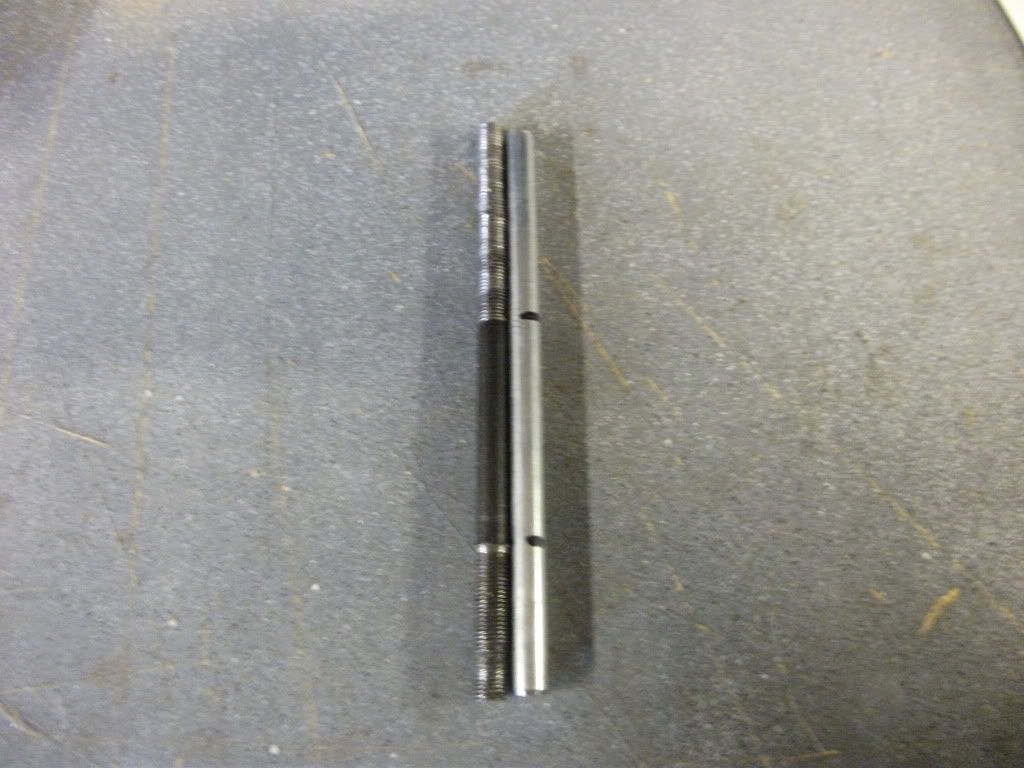
Mark the length of thread you need to cut on with permanent marker. use the old axle as a guide
No.4
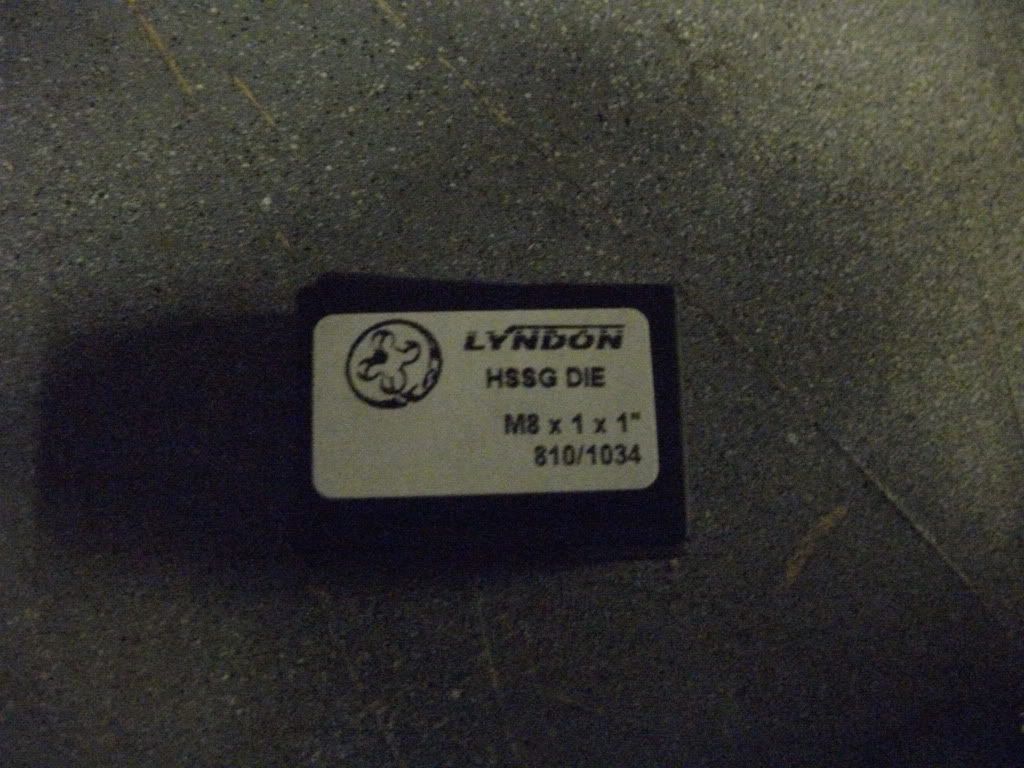
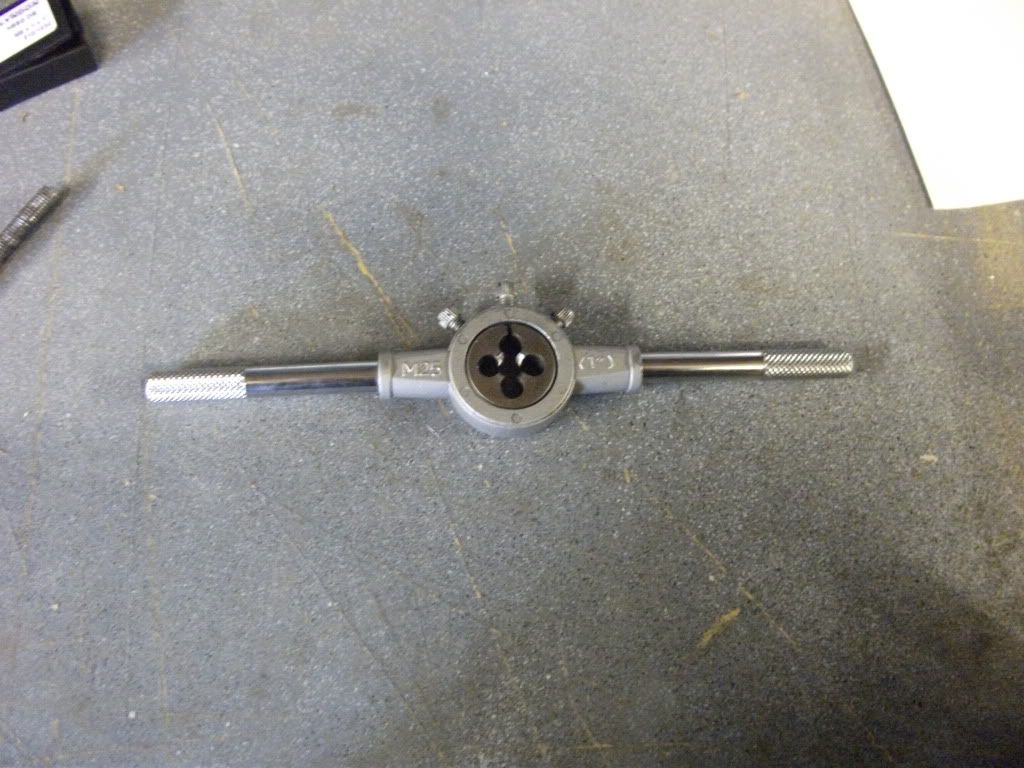
Now you can start to cut the thread on. I used a 1" split die and holder
No.5
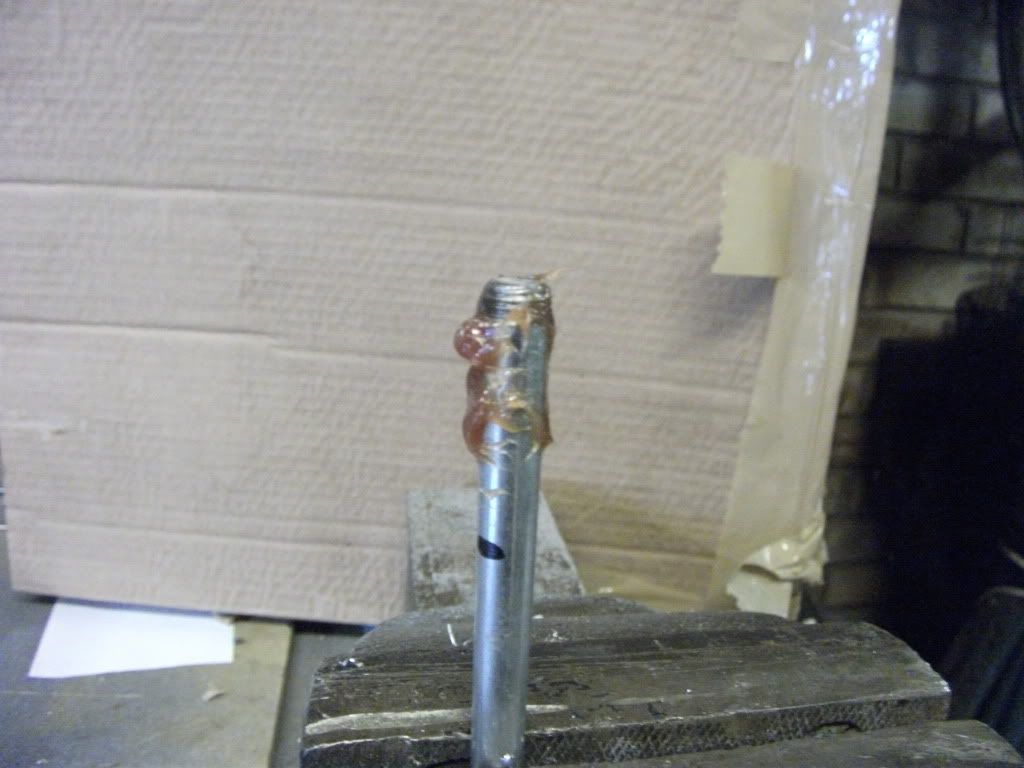
Grip the new axle in the vice and use some cutting compound or grease to help lubricate the cut
No.6
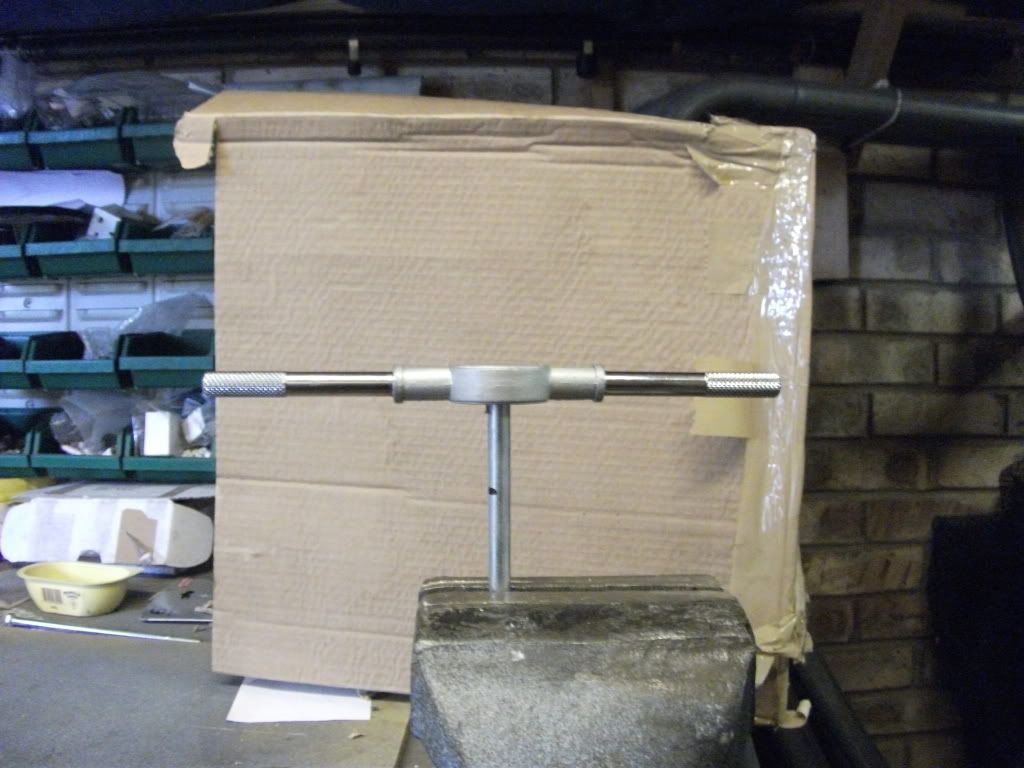
start to cut your thread by carefully turning the die clockwise. Its important to keep the die at 90 degrees to the axle
No.7
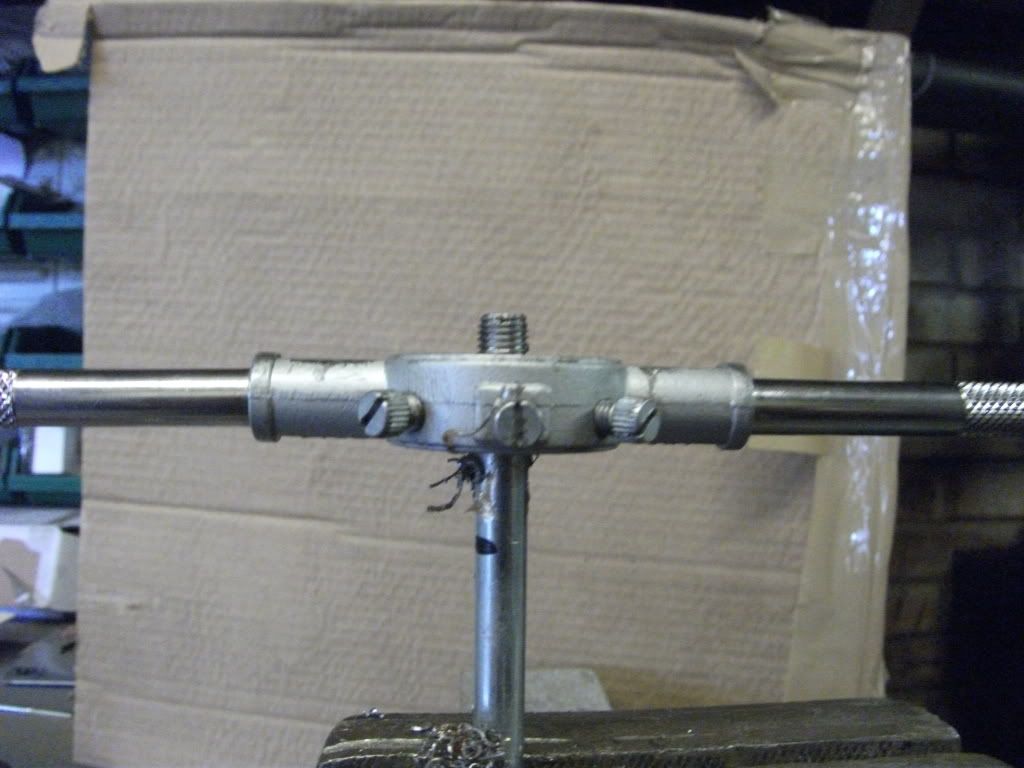
To cut the thread you must rotate the die in 180 degree turns for 2 turns clockwise and then rotate anti-clockwise 180 degrees to break off the swarf (the bits cut out of the axle by the die). If you dont break off the swarf you can end up breaking the die, so be patient : : If needed use more grease on the axle and continue down to your mark
No.8
Once the thread is completed, remove the die by unscrewing it and give the thread a quick clean. You can then try on the cone nut
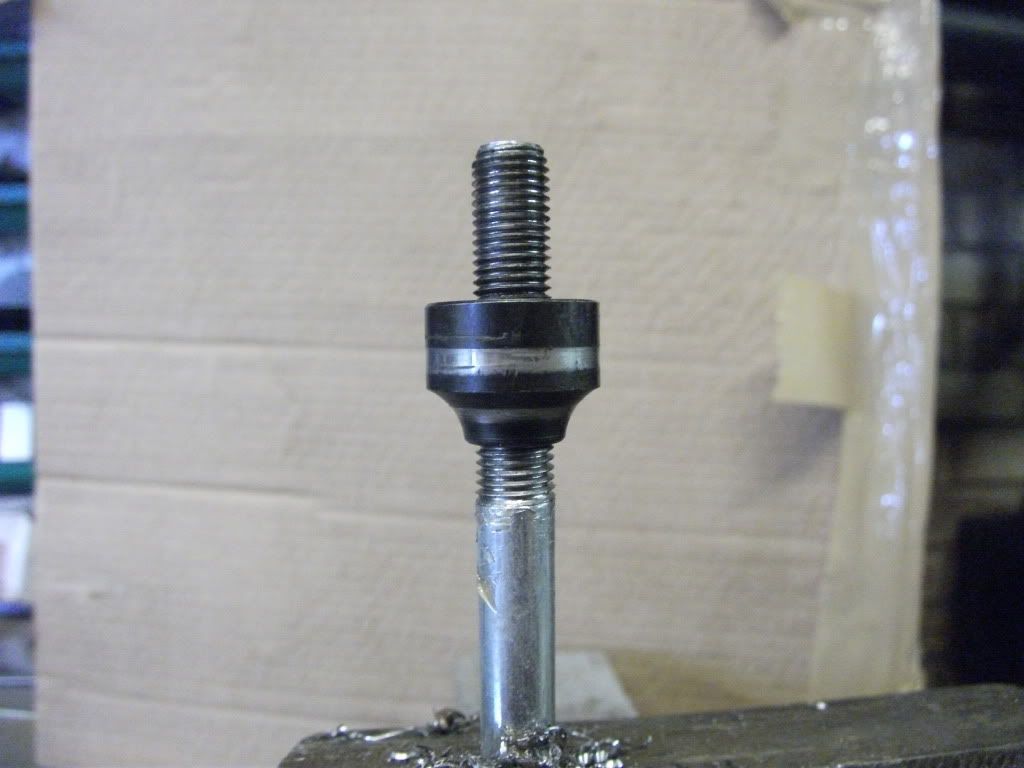
No.9
repeat for the other end and you have a nice new axle
No.10
Try it in the drop outs for size, you can adjust the cone nuts to suit later
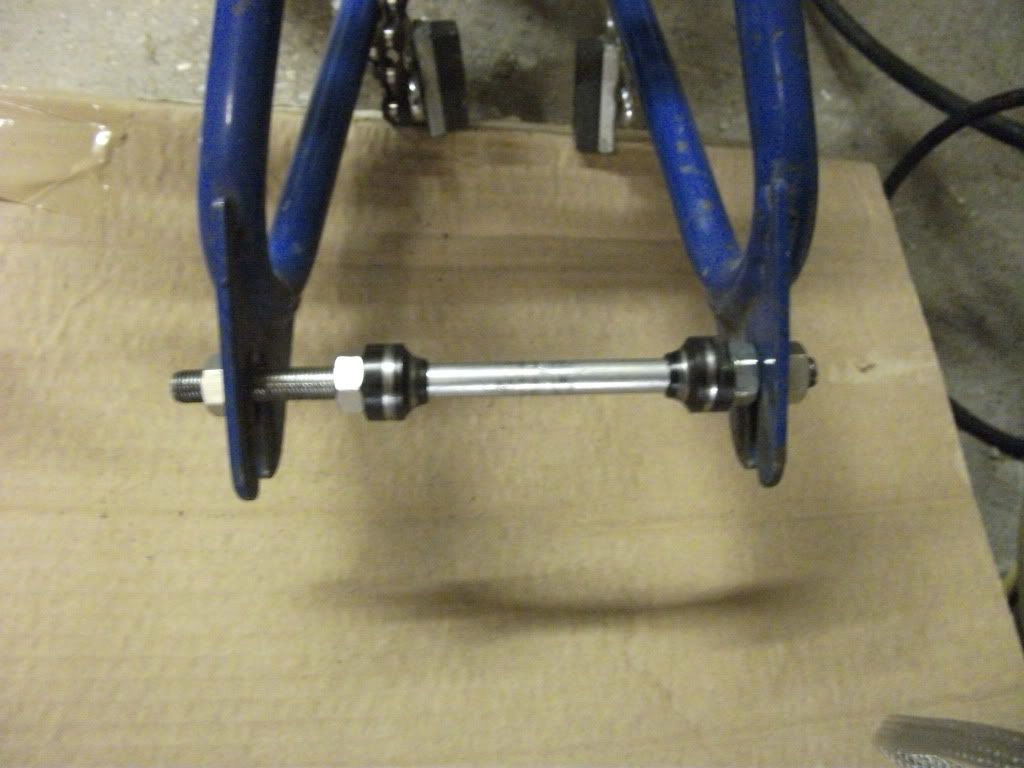
I also bought some new M8 fine nuts to use as locking nuts and some new M8 large washers
No.11
Fitted nicely in the wheel
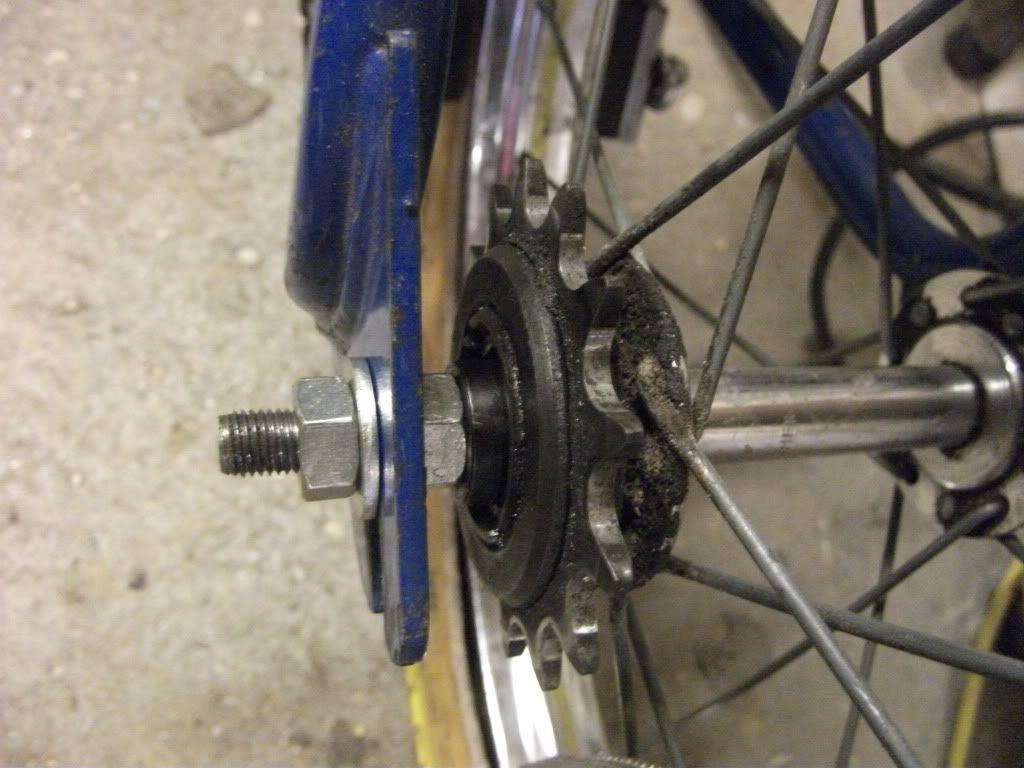
Hope this is of use to some one
thanks
Nick
I while ago I was looking for a replacement rear wheel axle for a mini burner, with out any success.(Altough this guide was for a raleigh burner it can be applied to all bikes with spoked wheels
)
So i thought I'd make one :
 :
: The one I had was pretty knackered as all the threads had stripped and wouldnt tighten up.
I've done a little guide that may help others as this could be used on the larger axles (M10) etc. just change the bolt to M10 and you need a M10 x 1 die nut. I will add that the Die nuts are quite expensive to buy, but if you can borrow one from a mate or from a local engineering firm great.
Firstly the axles for this Mk1 mini are 8mm with a metric fine thread(M8 x 1). Axles for the standard burner wheels are M10 metric fine (M10 x 1).
No.1
Buy a bolt that is long enough for the axle your making

No.2
Cut the hex head off and cut the bolt to length. I used a hack saw and a vice to hold the bolt. Metric fine bolts are not as readily available as standard metric bolts so I had to cut the existing thread off as well. If you can get a metric fine bolt you only need to thread one end, but metric fine bolts are more expensive as well

No.3
Mark the length of thread you need to cut on with permanent marker. use the old axle as a guide

No.4
Now you can start to cut the thread on. I used a 1" split die and holder


No.5
Grip the new axle in the vice and use some cutting compound or grease to help lubricate the cut

No.6
start to cut your thread by carefully turning the die clockwise. Its important to keep the die at 90 degrees to the axle

No.7
To cut the thread you must rotate the die in 180 degree turns for 2 turns clockwise and then rotate anti-clockwise 180 degrees to break off the swarf (the bits cut out of the axle by the die). If you dont break off the swarf you can end up breaking the die, so be patient :
 : If needed use more grease on the axle and continue down to your mark
No.8
Once the thread is completed, remove the die by unscrewing it and give the thread a quick clean. You can then try on the cone nut

No.9
repeat for the other end and you have a nice new axle
No.10
Try it in the drop outs for size, you can adjust the cone nuts to suit later

I also bought some new M8 fine nuts to use as locking nuts and some new M8 large washers
No.11
Fitted nicely in the wheel

Hope this is of use to some one
thanks
Nick


